What is the Middle Arrow spare system?
The Middle Arrow system gives you one target to aim for for every spare. You guessed it, the middle arrow. For every spare, you simply change where you stand and keep your target consistent.
Why bowlers like it
Many bowlers prefer this system because you only have to think about where you stand. It's simple to remember and after some practice can become muscle memory. The only number to keep in your head (or in your app) is the board you stand on.
If you don't have a spare system, you may find yourself standing in different spots and aiming at different targets. For most bowlers, that will make it hard to improve your spare conversion rate and will hinder your ability to raise your average over time.
The Middle Arrow system in depth
The lane has 39 boards. For a right hander, board numbers count from 1 at the right gutter to 39 at the left gutter, and the middle arrow is on board 20. Left handers count from the left gutter instead, and Advanced Bowling Tracker flips every board for you once you set your handedness.
For each spare, start by targeting the pin closest to you. Aim as if only that pin was standing. If you start chopping your spares, consider making slight moves left or right one board.
The basic process goes:
- Aim at the middle arrow (board 20) for every spare.
- Find the frontmost pin still standing.
- Stand on target board for that pin and aim for the middle arrow.
- Watch your ball cross over the arrow. Keep practicing until you can consistently hit it.
Starting furthest left for targeting the 10 pin, you'll move 3 boards right for the 6 pin, 3 more for the 3 pin, and so on.
Where you stand for each spare
The table below is the same chart shown in Advanced Bowling Tracker:
| Leave | Stand on | Aim at |
|---|---|---|
| 10 pin | Board 35 | Middle arrow (board 20) |
| 6 pin | Board 32 | Middle arrow (board 20) |
| 3 pin or 9 pin | Board 29 | Middle arrow (board 20) |
| 2 pin | Board 19 | Middle arrow (board 20) |
| 4 pin | Board 16 | Middle arrow (board 20) |
| 7 pin | Board 13 | Middle arrow (board 20) |
| 1, 5 or 8 pin | Your strike stance | Your strike target |
The 9 pin plays like the 3. For the 1, 5 and 8, throw your strike shot.
Why not just hook at my spares?
On a typical house shot, you can have a lot of success hooking the ball at most of your spares. But as you bowl on sport patterns and harder conditions, you'll often find that the reactions become much harder to predict. Going straight at your spares takes the oil pattern out of play as another variable to consider.
Visualizing the Middle Arrow system
The dashed line is your ball path going from your release through the middle arrow to your target pin. Boards are shown for a right hander.
The same idea in the other direction. A right hander shooting the 7 stands well right of center and rolls the ball across the lane toward the left corner.
For a left hander, the boards are counted from the left gutter, so board 35 is out near the right gutter. The 7 pin is the cross lane shot.
Multi pin leaves and splits
As with a single pin spare, target the frontmost pin. As you get a feel for the system, consider making micro adjustments for better targeting.
On a 2-4-5-8 (the bucket), the 2 is in front, so stand on the 2 pin board and aim at the middle arrow. The ball should drive through the 2 pin and takes the rest.
Depending on the split, you may want to target the pin to the right or left of the standing pin to give yourself your best chance. For example, on the 6-7, line up for the 10 pin to try and slide the 6 pin over into the 7 pin.
More tips for spare success
Aim your shoulders towards your target pin. Practice being mindful of your shoulder position when shooting spares to build the habit.
Consider buying a plastic spare, especially if you have trouble flattening out your shots. This spare system assumes the ball you throw is moving straight at the target.
Using the Middle Arrow system with Advanced Bowling Tracker
Advanced Bowling Tracker includes optional guidance for using Middle Arrow system. Here is how you can enable it:
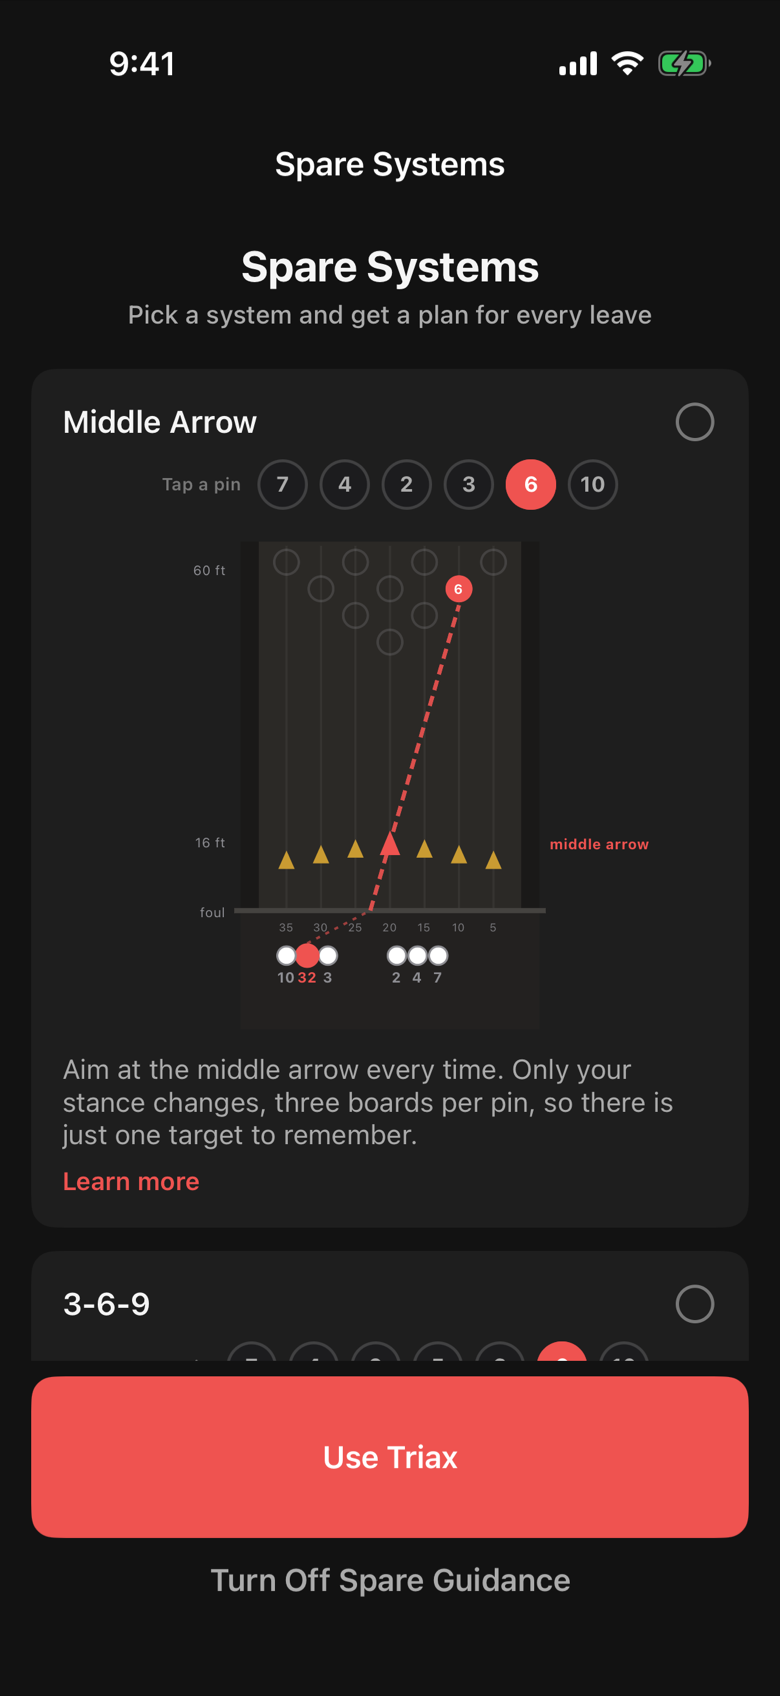
Option 1: Open Settings, then Game Options, then tap Spare System and select the Middle Arrow system.
Option 2: Tap on the targeting reminder button when recording a game and select the Middle Arrow system. Then tap the Set Reminders button.
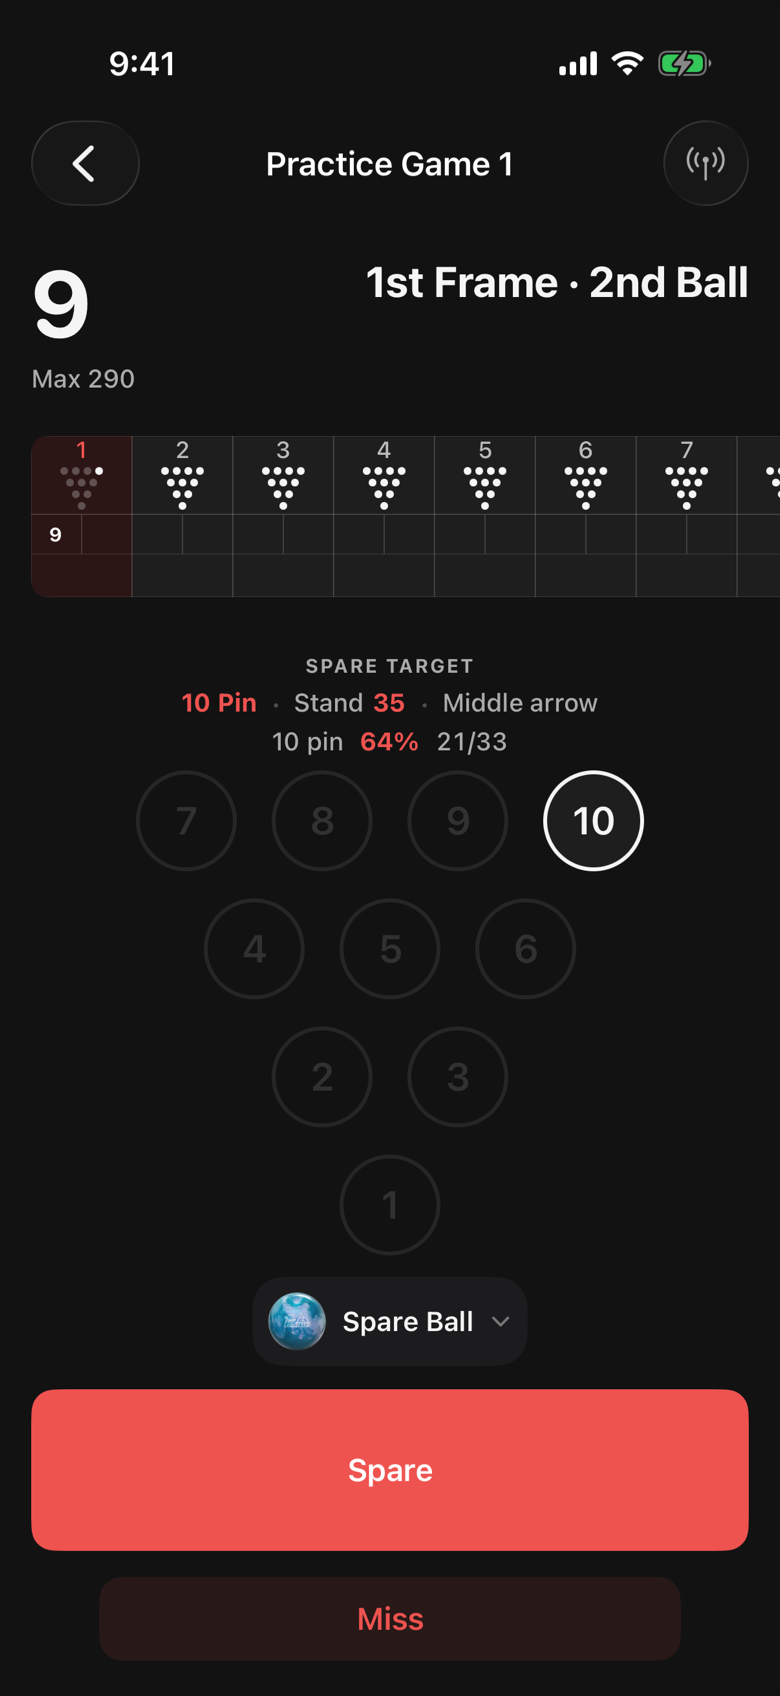
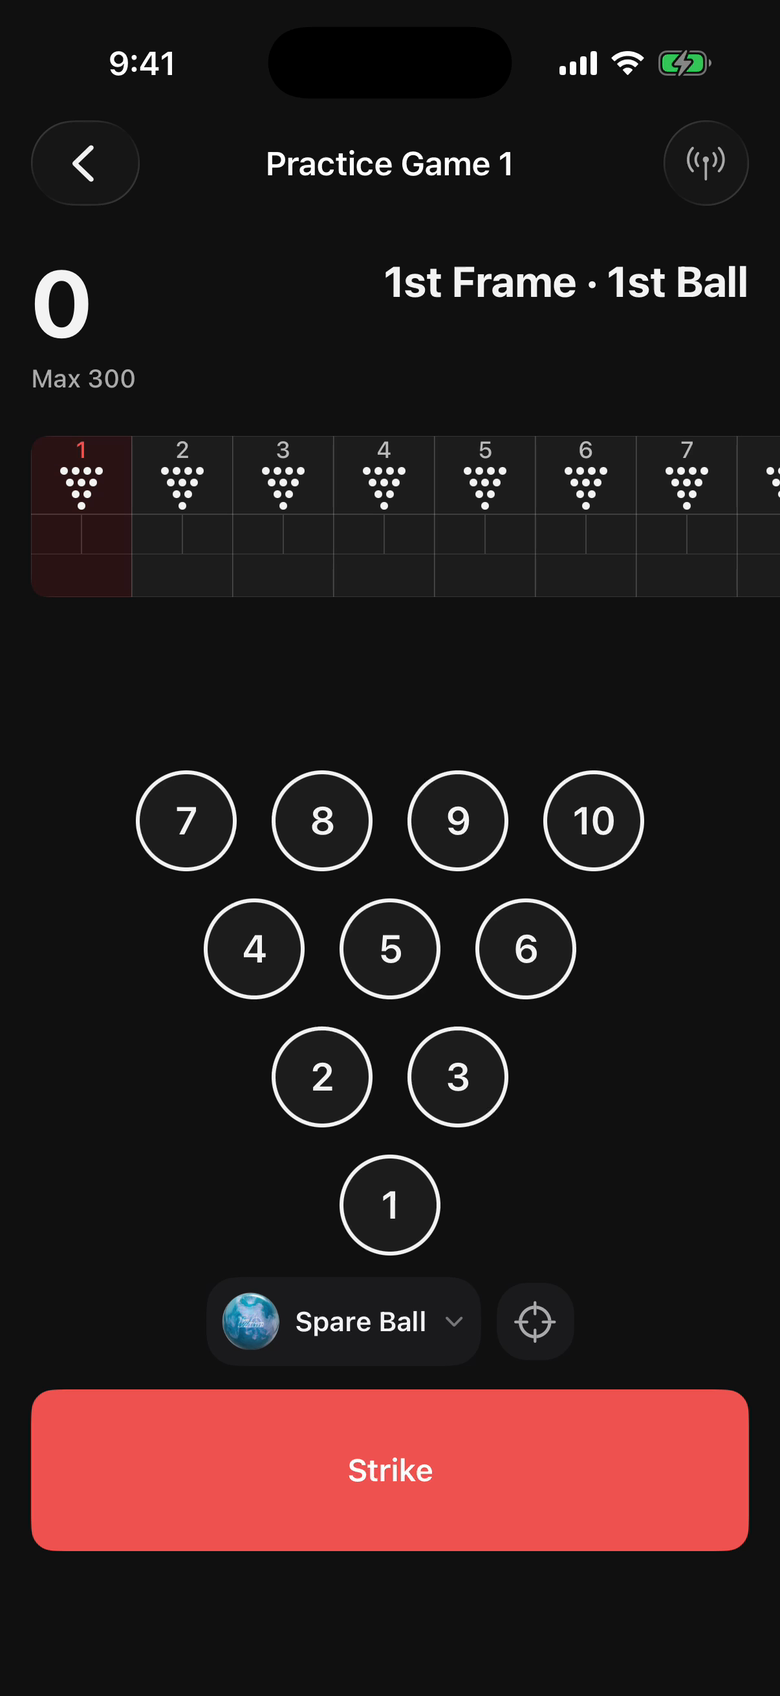
Now, after you record your first shot of a frame (and don't strike) you'll receive guidance on where to stand for every spare. After every first ball that leaves pins, a Spare Target line appears above the pin deck with the leave, the board to stand on, and the target.
If you use the Apple Watch companion app, you'll also get spare guidance on your wrist as you record your shots.
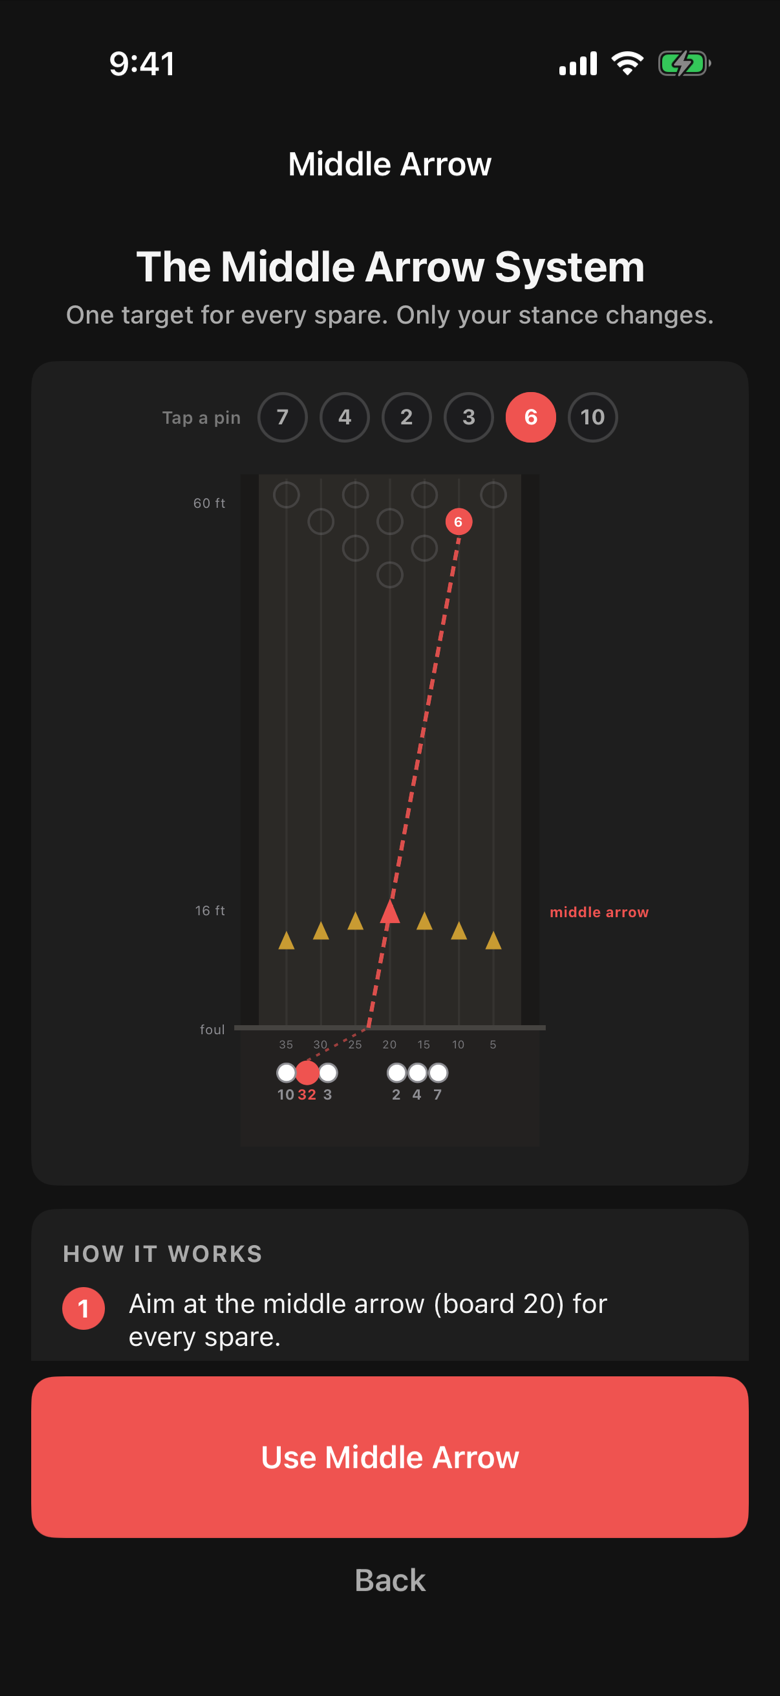
The Learn screen has a live lane diagram you can refer to as well. Tap a pin along the top and it shows your line for that pin.
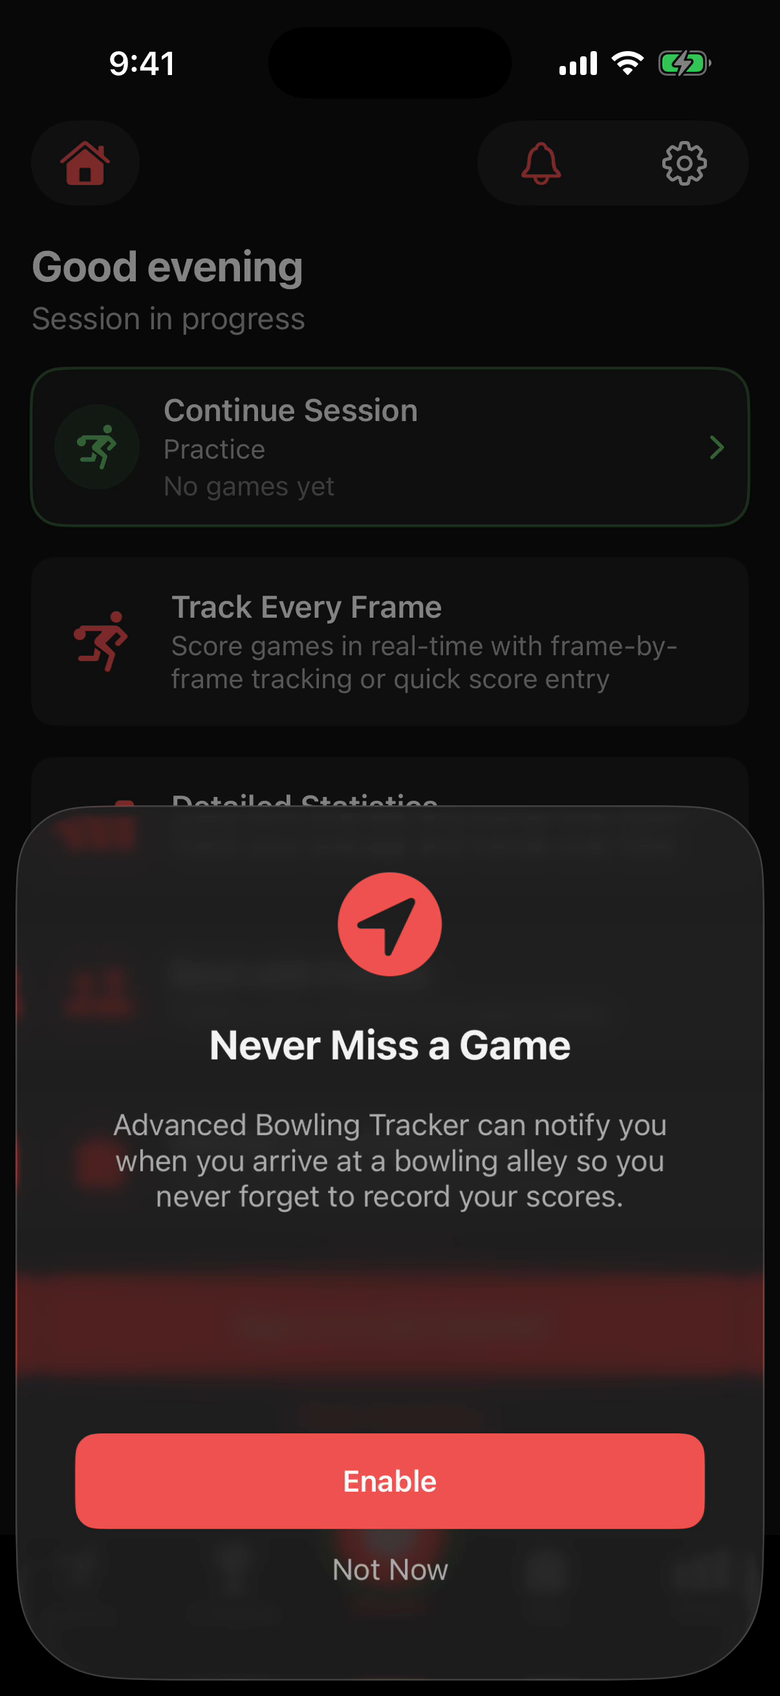
To turn spare guidance off, open the Targeting Reminders again and tap Turn Off Spare Guidance.
FAQ
Does the Middle Arrow system work for two handed bowlers?
Yes, everything is the same. As a two hander, if you tend to drift far to one direction, you'll want to take that into account. Two handers also often have more trouble flattening their shots, so using a plastic ball may help quite a bit.
What if I can't flatten my shot out?
If you are having trouble not hooking the ball, again you'll want to invest in a spare ball. If you still have some movement on your ball, factor that into your targeting and just try to be consistent. As long as you can improve over time, find what works for you.
Can I use the Middle Arrow system on a sport pattern?
Absolutely. Since this system assumes you are flattening out your spare shot, it will work on any oil pattern. Throwing it straighter at spares takes the oil pattern out of the equation.